Articles
Successful Planting
19 July 2026
When selecting a tree, consider its purpose: shelter, shade, screening, timber, environmental benefits, or beautification?
Choose your site well, is it suitable for your selected tree? Observing successful species of trees in your surrounding area will give you a good indication of what has grown well in your local environment.
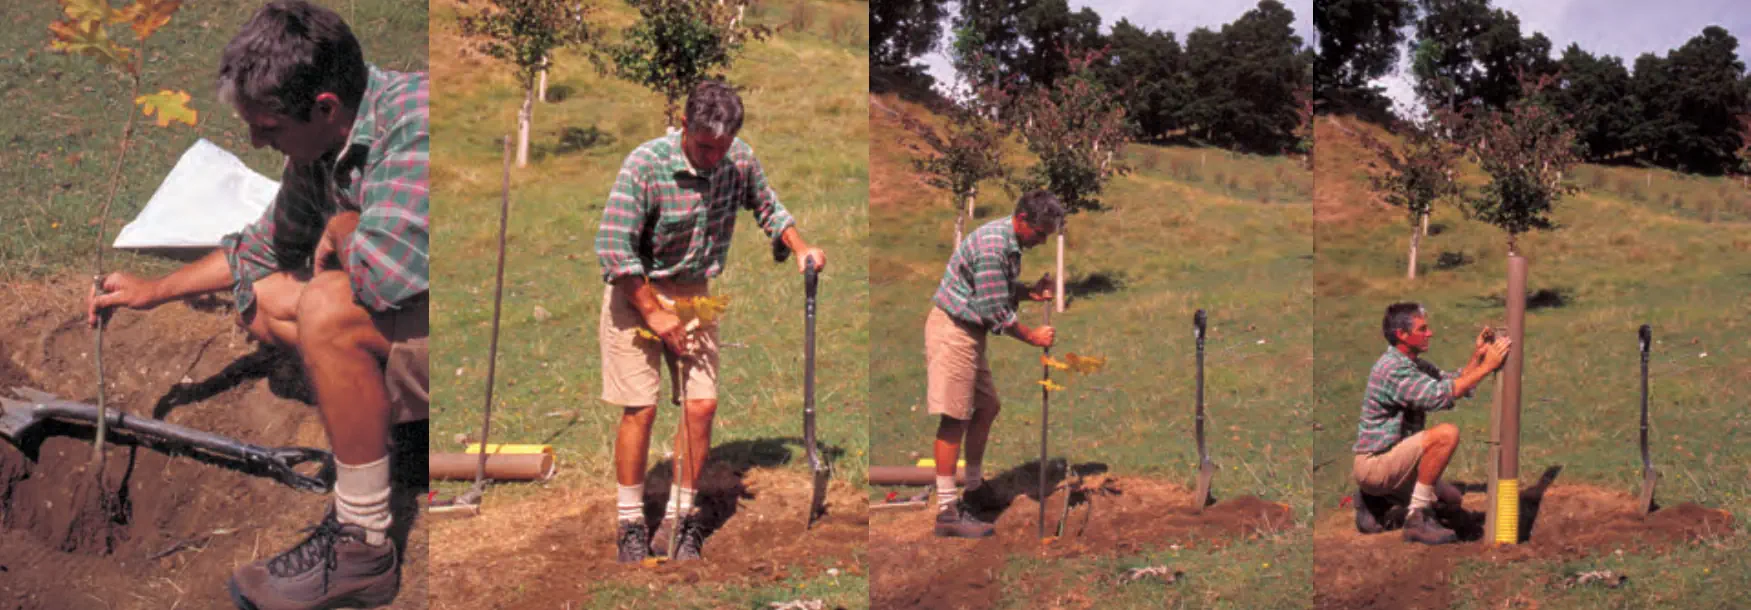
PlantingCultivate an area 40cm x 40cm and to a depth of 30cm, opening up a planting hole large enough to accept the root system. Place the tree in the centre of the hole, spreading the roots. Replace the earth around the roots, discarding any turf. Forestry seedlings need adequate cultivation to a full planting spade depth.
Pull the plant through the fill approximately 10cm to ensure the roots are straight. Continue to hold the top of the tree and firm the soil around the stem with the soles of your boots, firming to eliminate air pockets around the roots. (See diagram below for forestry planting method.)
The collar of the tree (the junction between the stem and roots) should be at ground level. However, in drought prone areas the tree can be set 10cm deeper in a shallow hollow to gather rainfall water. This helps if the soil is dry, or trees are exposed to desiccating wind or periods of heavy frosts. Evergreen trees ideally require regular watering after planting where practical.
Do not add fertiliser directly into the planting hole as this might burn the roots of the tree.
Cover the area around the tree with mulch. Do not pile mulch against the trunk. Bark, stones, course sawdust, post peelings, silage tops or cut vegetation all make excellent moisture retaining mulch.
Where staking is required, place the stakes so they don’t potentially damage the trunk and branches or the roots. Use a rubber inner tube tie, which will not cut and damage the trunk. It will eventually perish or can be removed when no longer needed.
AftercareGood weed control is essential for successful establishment and quick initial growth as trees planted and then left in a thick sward of grass and weeds will struggle to remain alive, often dying due to moisture competition in a dry summer.
Following planting in the winter, apply a 1m-diameter ring of suitable mulch. This will conserve the winter soil moisture and form a physical barrier to stop the seedling weeds germinating. Spread the mulch 10cm deep, leaving a 5cm-diameter area clear of the trunk.
A further 30cm spray ring will keep invasive weeds from growing back into the mulch ring. If mulch is not available, then keep the planting site free of all weeds using a contact herbicide such as Buster or Galant. Roundup is easily translocated into the plant, so the use of plastic spray guards will protect the tree stem. Residual herbicides rely on a chemical barrier to stop weeds germinating, however many trees are sensitive to these products. Always seek local advice before using herbicide spray products.
Staking: Useful in exposed windy sites to allow newly planted trees to establish strong anchoring roots. A short stake is best, allowing movement of the trunk, encouraging root establishment and stem growth. Tyre inner tubes make excellent tree ties avoiding stem damage.
Fertiliser: The application of fertiliser at the time of planting is not considered essential on farm sites and the fertile soils of some regions of New Zealand. However, on the more infertile soils additional nutrition combined with good weed control results in huge benefits.
Corrective Pruning
19 July 2026
Early identification and elimination is vital to long term tree health.
Corrective pruning is pruning carried out on a young tree to improve its long-term form. This will help to develop a strong trunk and branch structure, avoiding problems of trunk and branch breakage, and the need to remove large limbs as the tree matures.
It is important to note that selecting the right tree for the site will influence the amount and type of corrective pruning that may be required. The 3D rule is a good basic guide - if you eliminate all dead, diseased and damaged material first, then stand back and look at the tree, you’ll often find little else needs doing.
One major fault that does necessitate further corrective pruning is double leaders, or co-dominant multiple stems. These are usually a genetic structural flaw known as included forks. Included forks occur where two or more stems or branches arise from an excessively tight fork. Although they rarely cause problems in young trees, they almost always result in major limb or stem failures in mature trees. This is because the tight fork union causes bark and cambial tissues to become constricted within the union. As the branches or stems increase in diameter with growth, the stems literally force themselves apart.
Reference Book: 'New Tree Biology' by Dr Alex Shigo is an excellent text that explains the physiological processes that take place within trees and how they respond to injury and disease.
Correct Pruning Technique and Target PruningCorrect pruning is about making the right cuts with the right tools.
Tree damage is extremely hard to repair, but very simple to prevent. Good advice and appropriate professional tree care given in the formative years can prevent costly, remedial work in the future, and more importantly, can ensure the trees are enjoyed by generations to come.
ToolsHand secateurs and pruning loppers with curved blades make a cleaner cut with less crushing of the surrounding stem tissue.
The Silky range of hand and pole saws has a unique tooth pattern to give a fast and efficient cutting action, which produces a smooth cut surface. Pole saws with multiple adjustment extension poles allow a reach up of up to 3.3 metres.
Target pruningThis is about identification of the branch collars and making the correct cuts in the right place, to encourage compartmentalisation of the wound and rapid callous formation.
Removal cutsBranches larger than 50mm should be cut in three steps to avoid splitting back of the branch and tearing the bark.
The first cut should be made on the underside of the branch 300-500mm from the crotch. Cut the branch about 25% of the way up or until the saw binds.
Begin the next cut on top of the limb within 25-50mm of the first cut and saw until the limb falls.
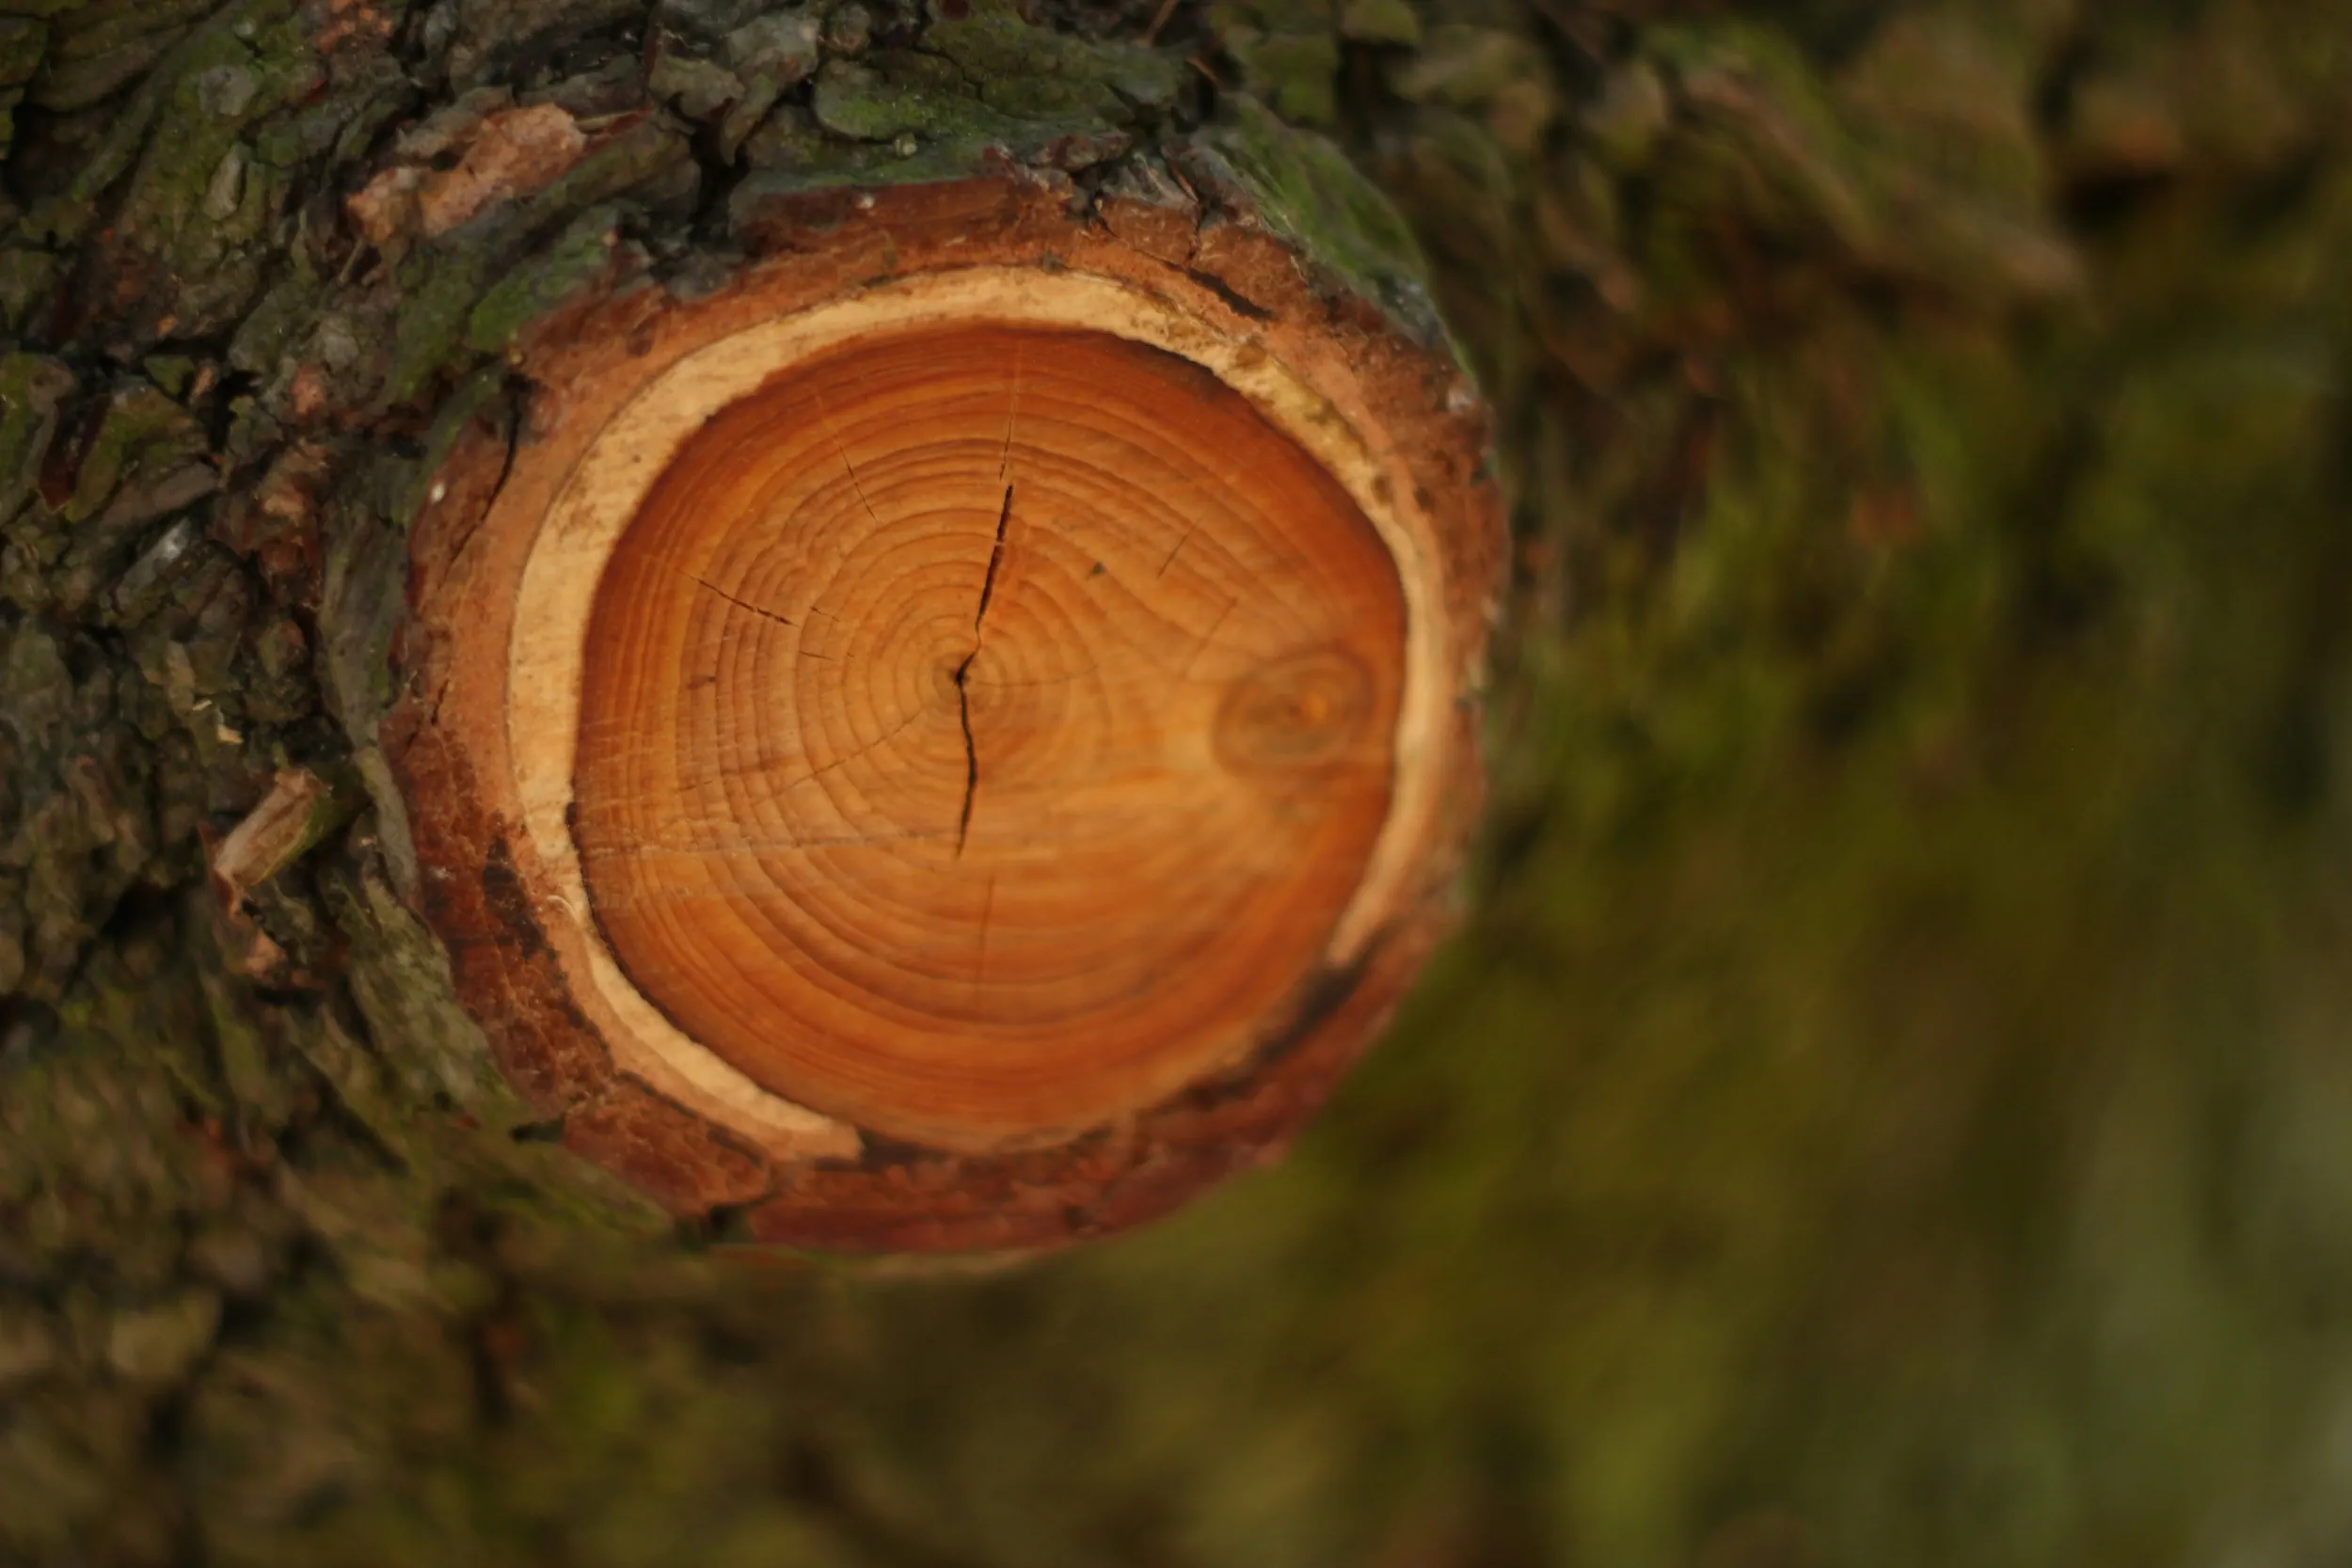
The final cut should be made close to, but beyond the bark ridges and the collar at the base of the branch. Avoid flush cuts as they increase the diameter of cut and increase the area of trunk tissue exposed to decay.
Heading back CutsHeading cuts are made to shorten a branch or central leader back to a bud. These are typically used to reduce the vigour and promote growth in the tree, other than the part that has been pruned back.
Tubex tree shelters and overly staked trees tend to promote very strong dominant leaders, which then tend to bend over. By cutting back to a bud below the bend, stem diameter is increased and a more balanced branch structure develops.
By choosing a downward or outward facing bud from the trunk, a more horizontal branch habit will develop.